
Pumpkin carving has been around for decades, making its way to the United States through Irish immigrants in the 19th century. What started off as simple face carvings on turnips and potatoes has now grown into a common practice every Halloween. And the carvings are not always so simple anymore!
While most Americans do it every year, the art of making a great jack-o-lantern is still confusing for many. But do not fear! After reading this blog, you will stun your neighbors with your amazingly carved pumpkins.
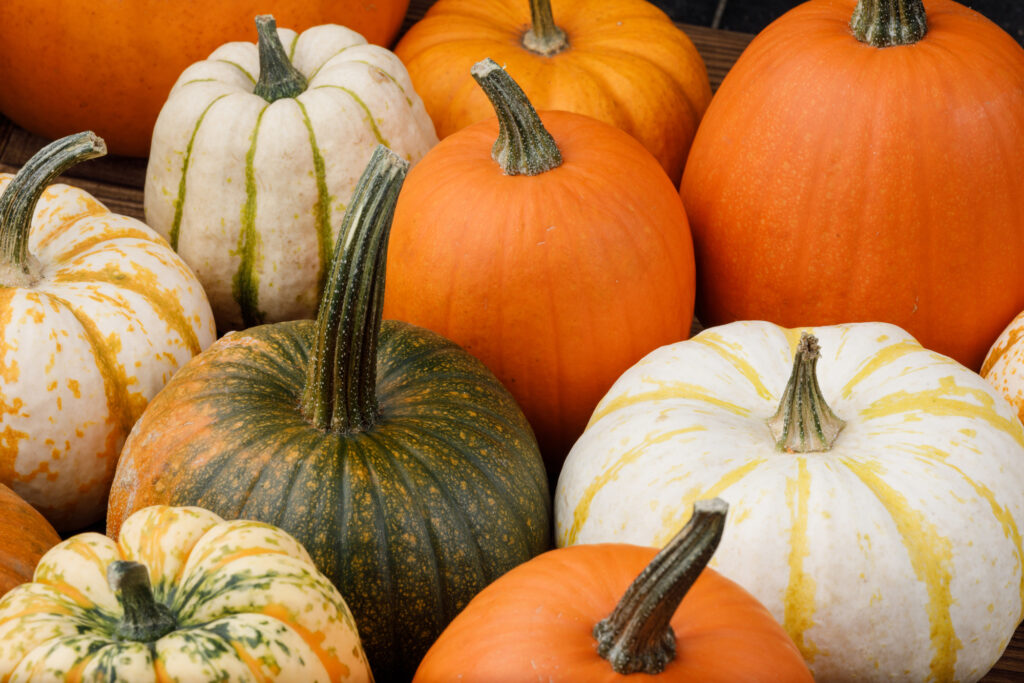
1. Choosing the Perfect Pumpkin
The first step to a successful pumpkin carving adventure is selecting the right canvas. When choosing a pumpkin, keep these tips in mind:
- Size matters, so opt for a pumpkin that’s large enough to accommodate your design but not so large that it’s unwieldy.
- The shape is important, too, so look for a pumpkin with a smooth, even surface, as this will make carving and designing easier.
- When choosing the color, a bright orange pumpkin is ideal, as it will provide a vivid background for your design. But if you want to create a ghost or skeleton, maybe grab a white pumpkin! There are tons of colors to choose from depending on your ideal carving, so keep that in mind before you head to the patch.
2. Gather Your Tools
To carve a pumpkin, you’ll need a few essential tools. Make sure you have the following items on hand:
- Pumpkin carving kit: These kits typically include a scoop, saws, and other helpful tools designed specifically for carving. This saves you from having to spend time and money gathering individual tools or damaging your own items at home!
- Sharpies: Use these to draw your design on the pumpkin.
- Newspaper or plastic tablecloth: To protect your workspace from pumpkin guts and mess.
- Candles or LED lights: These will be used to illuminate your finished creation.

3. Design Your Pumpkin
Before you start carving, it’s a good idea to plan your design. You can opt for a classic jack-o’-lantern face or get creative with intricate patterns or designs inspired by characters. Here’s how to create your design:
- Draw your design on the pumpkin’s surface using a Sharpie. Start with a simple sketch, and gradually add details.
- Consider using stencils for more intricate designs. You can find free templates online or create your own.
- Keep in mind that some designs may require multiple layers of carving for a 3D effect.
- Don’t forget! You can also use other mediums like paint, markers, or ribbons to add some fun touches to your design.

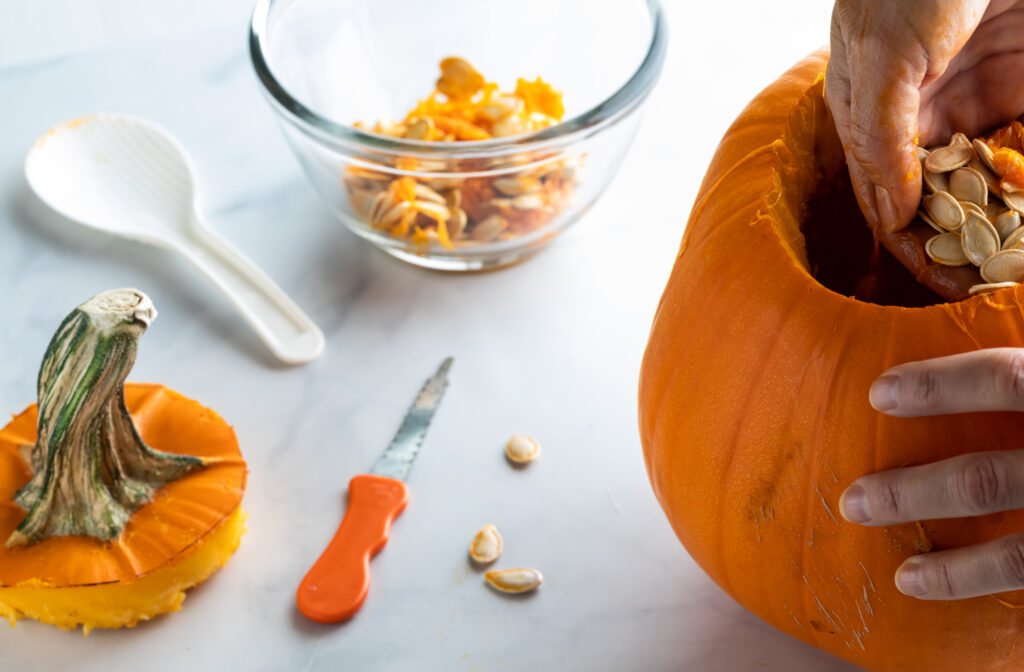
4. Carving Your Pumpkin
Now comes the fun part – carving! Follow these steps to safely and successfully carve your pumpkin:
- Start by cutting a circular lid around the stem. Make sure the lid is large enough to allow for easy access to the pumpkin’s interior.
- Scoop out the seeds and pulp with a spoon or the provided scoop. Save the seeds for roasting if you like.
- Carefully use the saws from your pumpkin carving kit to cut along the lines of your design. Remember to go slowly and use a gentle, sawing motion.
- Push out the carved pieces from inside the pumpkin using a tool or your hands.
5. Preserve Your Pumpkin
To ensure your pumpkin masterpiece lasts longer, you can take steps to preserve it:
- Rub petroleum jelly or vegetable oil on the cut edges to slow down the drying process.
- Keep your pumpkin in a cool, dry place when it’s not on display to prevent rotting.
- Consider using LED lights instead of candles to prevent heat from damaging the pumpkin.

Pumpkin carving is a delightful tradition that lets you embrace your artistic side while celebrating Halloween. By choosing the perfect pumpkin, gathering the right tools, designing your masterpiece, carving with care, and preserving your creation, you’ll be well on your way to becoming a pumpkin carving pro. So, gather your friends and family, and start carving your way to a gourd-geous Halloween!

For all of the latest information on our local real estate market in Southwestern Indiana, you can always trust the professionals at F.C. Tucker Emge. Our agents have superior training and resources at their disposal to better educate you about the road to homeownership. Even if you are 6-12 months (or more!) out from making a change, there is a lot to learn about the home buying and selling process, and our agents can help you learn what you need to know so that you can be confident in your decision and have a smooth experience when the time comes. Let’s Talk!


