
It is easy to get pulled into the allure of the hottest new trends when it comes to kitchen design: materials, hardware, equipment, layouts, colors, flooring, lighting, accessories. The list of how to update your kitchen is constantly changing. But remodeling a kitchen, while it provides a HUGE return on investment, is expensive enough that not all of us have the capital needed to upgrade to the latest and greatest details whenever the winds change. What we can do, however, regardless of our financial situation, is to take care of what we have so that it continues to function well and look good, even if it is a smidge out of date.
Giving a little extra attention to your kitchen cabinets throughout the year will add to their longevity and functionality. Especially if you are getting ready to list your home for sale, you will want to be sure to include a thorough kitchen-cabinet cleaning session in your pre-listing checklist of chores. Here are some of our best tips on gussying up those kitchen cabinets:
CLEAN!
It is easy to forget that the kitchen cabinets get dirty on both the inside and the outside. Giving attention to cleaning off the accumulated grime will result in fresher looking cabinetry. Here are our favorite ways to tackle the cabinet faces and the interiors
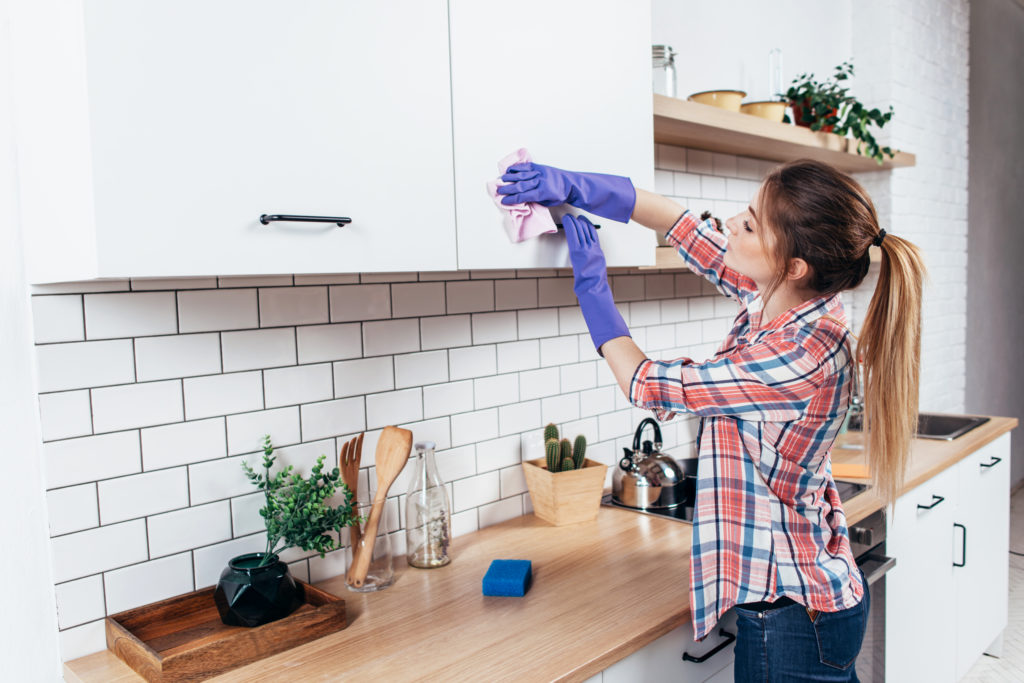
Exterior Cabinet Cleaning
The finish of your cabinets will determine the best method for cleaning them. One thing all the methods have in common is that you need plenty of clean rags for scrubbing and subsequent drying.
Some of us grew up with the smell of Murphy’s Oil Soap wafting through the house when it was kitchen cabinet cleaning day. Murphy’s Oil products are a completely viable solution for cleaning your cabinetry, but if you don’t have any on hand, try the following methods:
- Finished Wood
- Spray cabinets using a 50/50 solution of water and distilled white vinegar, let sit for a few minutes and then wipe off with a clean soft cloth. For extra grime, add just a few drops of dish detergent to the solution.
- Painted Wood
- Omit the vinegar as used for the finished wood and simply use warm soapy water. Plain dish soap is the perfect solution for cutting through grime. Consider using a microfiber cloth for extra scrubbing power as you will not want to use anything more abrasive that could scratch the wood.
- Laminate
- With laminate cabinets, using a mild all-purpose cleaner is a perfectly viable option as is warm soapy water.
Also, remember to give the handles and knobs plenty of attention as they get easily contaminated and need a good rubdown, even more frequently than the main parts of the cabinets.
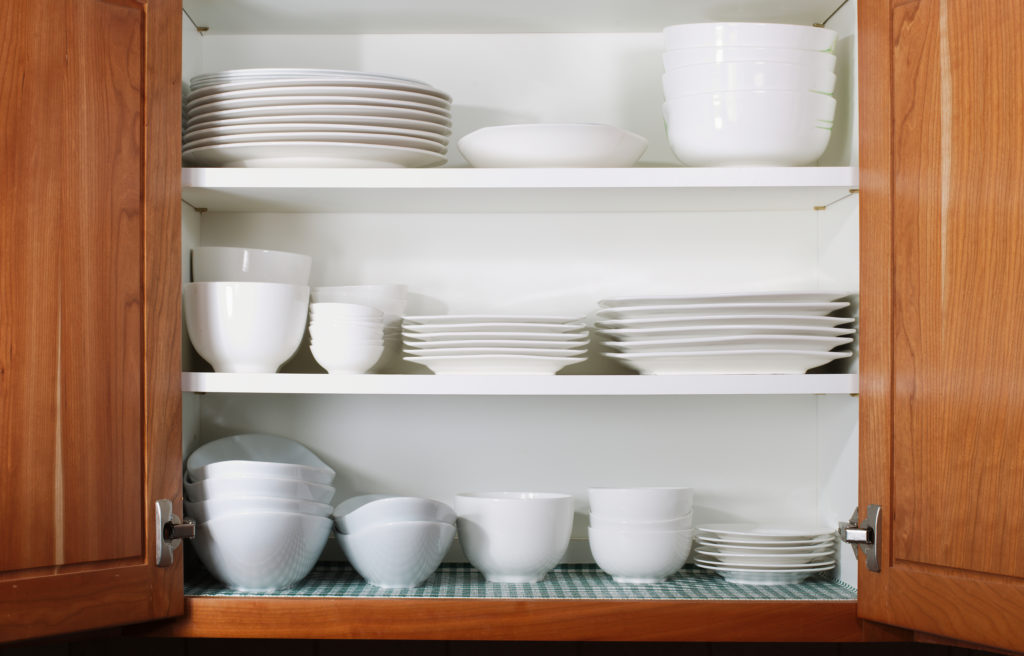
Interior Cabinet Cleaning
Deep cleaning the interiors of your cabinets and drawers is not fun, but it is necessary. Luckily, it doesn’t need to be done as frequently as the cabinet exteriors. Not only does cleaning the insides of cabinets get rid of dirt, but it is also a great time to reorganize and clean out your shelves to make things easier to find and access. Depending on the size of your kitchen, you may want to split this chore up over several days and just do a cabinet at a time. Regardless, it will be time and energy well spent:
- Prepare your cleaning solution and gather your rags. The easiest method is to fill a bucket with warm water and a small amount of mild detergent. You can also use an all purpose cleaner, but you may want to test an area first to make sure it doesn’t have an ill effect.
- Empty out the cabinet. You may just want to do one shelf at a time depending on how much room you have to store the contents
- For especially crumby cabinets, use a vacuum attachment to suck up all the big particulate matter.
- Do you have shelf liners? If so, you will want to remove torn or discolored lining before continuing
- Wash down the interior shelves with your soapy warm water
- Let them air dry (or dry with a second clean cloth). Replace shelf liners as needed and then replace the contents, taking time to wipe down any containers or dishes that seem particularly dusty or sticky.
To Line or Not to Line?
Everyone has an opinion on shelf-liners. Some time think that this is an antiquated vestige from our grandparents’ eras that is no longer necessary. Others might argue that advances in shelf-lining material make it easier and better than ever. What are the pros and cons of lining your kitchen shelves and drawers?
Pros:
- Layer of protection from water and spills…do you always 100% put away dishes when they are 100% dry?
- Prevent shelving materials from getting scratched
- Prevents slippage
- Padded liners can muffle the sounds that result from putting dishes, pots, and pans away
- If you find a design you like, shelf liners can add a bit of personality and whimsy to your kitchen, even if it is hidden from view 90% of the time.
- Helps keep them cleaner and more sanitary.
Cons:
- Time consuming to apply
- Does not necessarily prolong the life of your shelves and drawers
- Overly sticky and hard to remove
- Or, the stickiness wears out and it starts to curl away
- Padded shelf-liners sometimes have small holes that allow crumbs to get through, which completely defeats the purpose of have a easy clean surface
- Those whimsical designs can fade (or go out of style over time) so even in the liner is in otherwise good condition, from an aesthetic standpoint, you may want to replace it, which is…time consuming
Before deciding whether or not you will line your cabinets and drawers, do some research on the types of materials available. You also might consider only lining certain shelves that get most of the wear and tear.
Go the Extra Mile
If you have deep cleaned the insides and outsides of your cabinets and you still feel like your kitchen needs additional freshening up, consider these options
- Replace knobs and handles on cabinets and drawers
- Paint your cabinets: either hire a professional, or make it a weekend DIY project. This is a very time consuming project but cheaper than replacing your cabinets. Just do your research first, ask lots of questions, and allow enough time to get the job done.
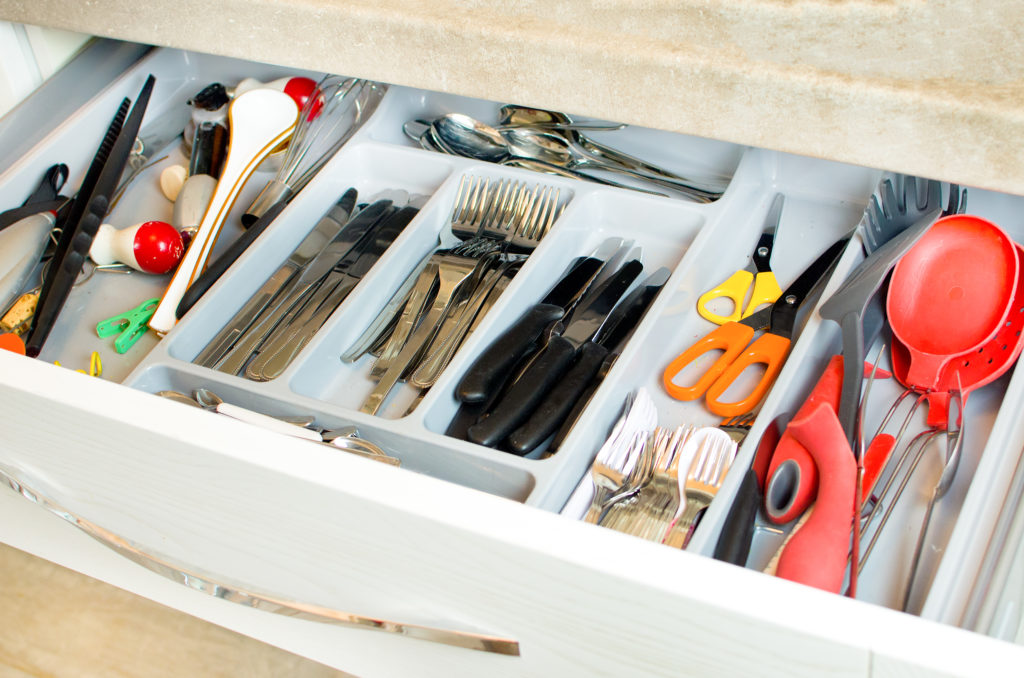
- Organizing: Sometimes rearranging the contents of cabinets can make a big difference to how you feel about your kitchen and how it flows. Consider new options for arranging your pantry, everyday china, flatware, drinking glasses, coffee mugs, serving dishes, pots and pans, and other accouterments. Depending on your space, you might also invest in:
- Inserts for drawers
- Inserts for cabinets
- Changing the shelf placements
Lastly, preventing damage and minimizing wear and tear is the best way to keep your kitchen functional and looking good for as many years as possible. To that end…
- Don’t hang on the cabinet doors as this puts too much stress on the hinges
- Wipe up spills as soon as possible
- Resist the urge to slam shut doors and drawers as this could crack the wood
- Consistently clean inside and outside of cabinets and drawers
F.C. Tucker Emge agents will tell you: kitchens DO sell houses. If you are getting ready to put yours on the market this spring or summer, and you don’t have time to do a major kitchen renovation, there are ways to capitalize on what you do have with some elbow grease and a minor investment in materials. Call your REALTOR® today and they will be happy to drop by your home to take a look and answer any questions you have about the state of your kitchen and how it might affect the sale of your home. Let’s Talk!
 Helps Sellers Price Correctly")

